Oracle R12 HR Payroll. Creating Element
Element window – R12
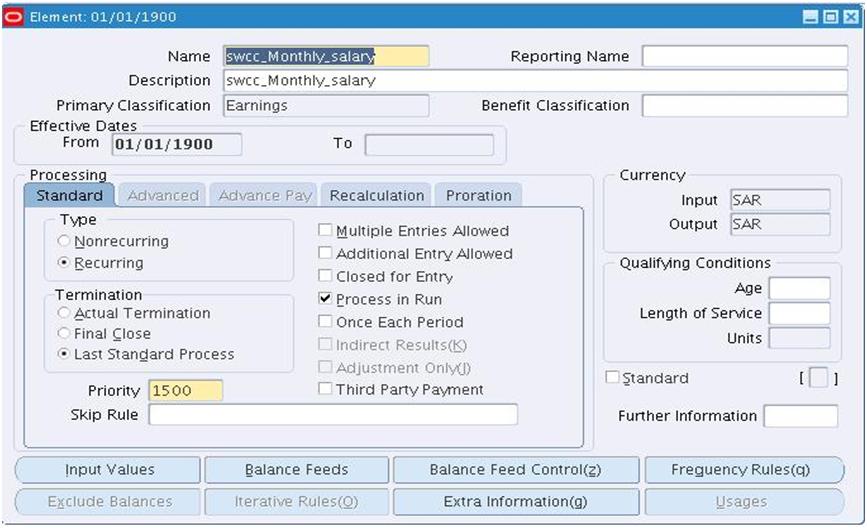
The screen above Used to create compensation and benefit types in Oracle HRMS. This training document
will explain how to define elements using an HR responsibility. If you want to define elements to be
processed in a payroll run by Oracle Payroll, you must use a Payroll Responsibility. That is, your HR User
Type profile option must be Payroll User or HR with Payroll User. This enables you to see additional fields
in the Element window in which you can enter information about how the element is to be processed.
Prerequisites
Decide how you want to validate the values users enter when they give an element to an employee.
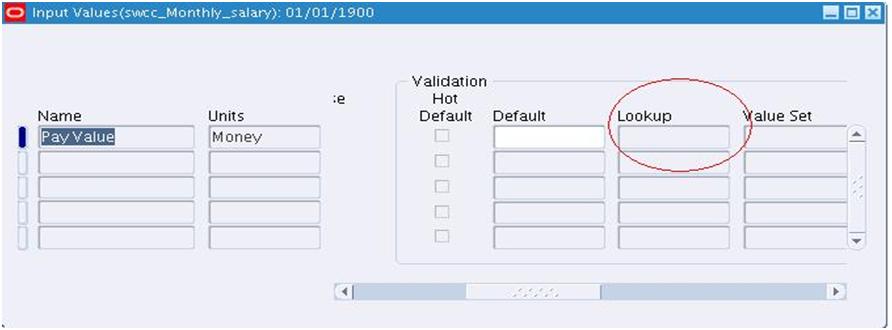
Lookup region – Element window
If you want to restrict their entries to a list of valid values, use the QuickCode Types window to define a new lookup. Then enter your valid values for this lookup in the QuickCodes window. See: Adding
QuickCode Values If you want to validate values using a formula, write your formula first using the Formulas window. See: Using Oracle FastFormula for Validation
Formula region – Element window

To enter dates, names and a classification for the element:
Names , classification and dates region – Element window

1. Set your effective date early enough to handle any historical element entries you want to make.
2. Enter a unique Name, Reporting Name, and Description for the element. The reporting name is a short identifier for reports and pay advices.
3. Select a Primary Classification. In Oracle Payroll, the element’s classification controls its processing priority range, and ensures that it feeds the correct balances. If you are defining a salary element for Salary Administration, you must select the classification Earnings.
Processing Information
To enter processing information for the element:
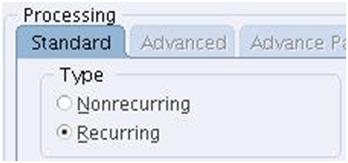
1. Select the Processing Type.
oRecurring means that an entry of this element applies in every period until the entry is ended or until a change of assignment means that the employee is no longer eligible.
oNonrecurring means that an entry of this element applies in one pay period only. The dates of the pay period are determined by the payroll to which the employee is assigned.
If you are defining a salary element for Salary Administration, you must select the type Recurring. If you are defining an absence element for Absence Management, you must select the type Nonrecurring.
Termination region – Element window
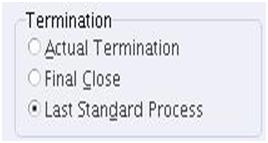
Termination employment window
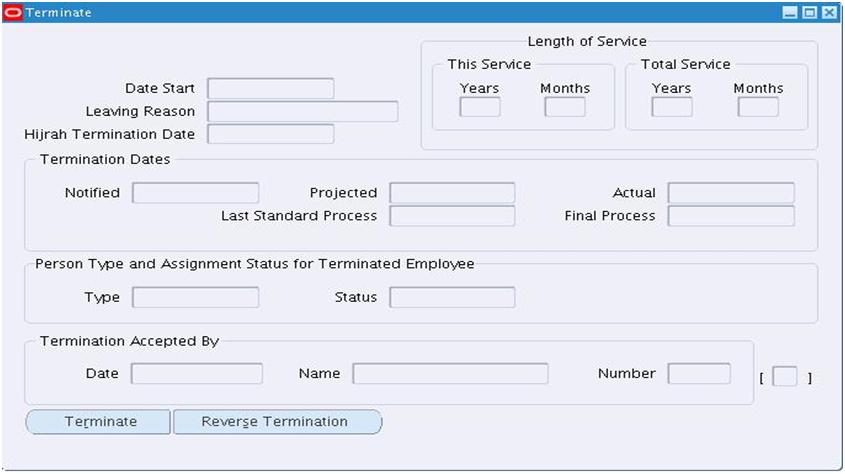
2. Select a Termination Rule. This determines how entries of the element are processed after termination of the employee. See: the Termination employment window.
o Select Actual Termination if you want recurring entries to close down on the date the employee leaves. For a nonrecurring element, select Actual Termination if you want the entries to close down at the end of the pay period in which the employee leaves, or on the date the assignment ends (the final process date) if this is earlier.
o Select Final Close if you want the entries to stay open beyond the employee’s leaving date so that you can continue to pay the employee. Only Payroll users can select Last Standard Process.
3. If you want to be able to give an employee more than one entry of the element at the same time, check the Multiple Entries Allowed check box.
4. If you want to be able to make occasional one-off entries of a recurring element, check the Additional Entries Allowed check box.
Additional Entries Allowed check box region.- Element window
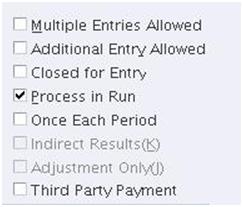
5. If you want to prevent any new entries being made for the element, either temporarily or permanently, check the Closed for Entry check box. This does not affect any existing entries of the element.
Attention:
Use this feature with caution. When you perform certain important tasks in Oracle HRMS, the system may automatically create or delete element entries. These tasks include hiring and terminating people, and updating assignments. Therefore, if you check Closed for Entry on an element, this might prevent users terminating employees and updating assignments. If there are standard links for the element, it will also prevent users hiring people who are eligible for the element.
Currency
To define currencies for element entry values:
Currency region – Element window
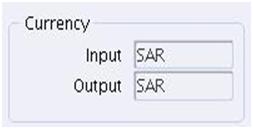
O If you want to enter values of element entries in a currency other than the base currency of the Business Group, select the currency in the Currency, Input field. The Output field displays the currency appropriate for your legislation.
Qualifying Conditions
To define qualifying conditions for receiving the element:
Qualifying conditions region – Element window
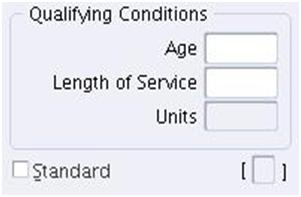
1. If there is a minimum age for employees to receive the element, enter it in the Age field.
2. If there is a minimum length of service employees must work before receiving the element, enter a number in the Length of Service field and select a unit of measure (such as months or years) in the Units field.
3. If you want the element to be entered automatically for all employees who are eligible, check the Standard check box. You cannot check Standard if the element is nonrecurring or if Multiple Entries are allowed.
Note: The qualifying conditions and Standard check box provide defaults for the element. You can override them for particular groups of assignments when you define the element’s links.
4. Save the element definition.

